

Turning an article into an infographic is a fantastic way to condense complex information into a visually appealing and easily digestible format. Infographics capture attention and make it easier for readers to understand key points quickly. In this tutorial, I'll guide you through the process of transforming an article into an engaging infographic.
Step 1: Select Your Article
- Choose an article that contains valuable information, statistics, and key points. Articles with sections or bullet points work well for infographics.
Step 2: Outline the Key Points
- Read through the article and identify the main ideas, key statistics, and essential information you want to convey in your infographic.
Step 3: Plan the Layout
- Determine the structure and layout of your infographic. Decide on the sequence of information and how you'll visually represent each point.
Step 4: Create a Wireframe
- Sketch a rough wireframe of your infographic layout on paper or digitally. This helps you visualize the arrangement of elements.
Step 5: Choose a Design Tool
- Select a design tool of your choice such as Canva, Adobe Illustrator, or an online infographic maker.
Step 6: Set Up Your Canvas
- Open your chosen design tool and create a new canvas with dimensions suitable for your infographic's platform (e.g., social media, website).
Step 7: Divide the Content
- Create sections or blocks in your design for each main point or topic from the article.
Step 8: Create Visual Elements
- Utilize icons, images, illustrations, and shapes to visually represent the content of each section.
- Choose visuals that enhance understanding and create visual interest.
Step 9: Condense Text
- Reword the text from your article into concise and impactful phrases.
- Use bullet points, short sentences, and bold headings to capture the essence of the information.
Step 10: Add Data Visualizations
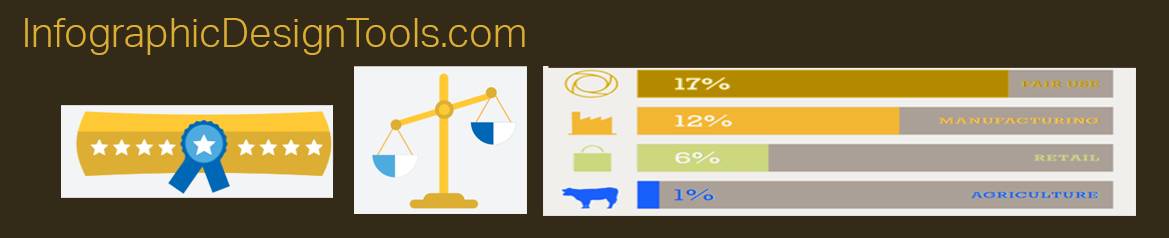
- If your article includes statistics or data, transform them into charts, graphs, or diagrams to make them more engaging.
Step 11: Apply Consistent Design
- Use a consistent color scheme, typography, and design elements throughout the infographic.
- Ensure that the design aligns with your brand or the theme of the article.
Step 12: Arrange and Align Elements
- Arrange the visual elements and text in a logical sequence, ensuring a clean and organized layout.
- Use alignment tools to maintain visual harmony.
Step 13: Review and Edit
- Review the infographic to ensure that it effectively conveys the main points of the article.
- Edit text, visuals, and design elements for clarity and coherence.
Step 14: Proofread and Fact-Check
- Proofread the text to eliminate grammatical errors and typos.
- Fact-check statistics and data to ensure accuracy.
Step 15: Save and Export
- Save your infographic in the appropriate format (JPEG, PNG, PDF) for your intended use.
Step 16: Share and Promote
- Share your infographic on social media, your website, or in presentations to engage your audience.
Transforming an article into an infographic requires thoughtful planning, design, and editing. By following this step-by-step guide, you'll be able to convert your content into a visually compelling infographic that effectively communicates key points and captures your audience's attention.
- A Step-by-Step Guide to Creating an Infographic Template
- Crafting Compelling Infographics with Adobe Illustrator: A Step-by-Step Guide
- Crafting Infographics with Adobe Spark Post
- Creating Infographics Using Google Docs: A Creative Approach
- Creating Infographics with Photoshop
- Creating Informative Infographics with Google Charts
- Creating Stunning Infographics with PowerPoint: A Step-by-Step Tutorial
- Designing Infographics with Canva
- Empowering Creativity: Exploring Free Online Infographic Makers
- Transforming an Article into an Engaging Infographic: A Step-by-Step Guide