
Infographics have become a powerful tool for conveying information in a visually engaging and memorable way. They simplify complex data, make content more shareable, and enhance the overall reader experience. One effective way to streamline the process of creating infographics is by designing an infographic template. A well-crafted template not only saves time but also maintains consistency in branding and design. Here's a step-by-step guide on how to create an infographic template:
Step 1: Define Your Purpose and Audience
Before diving into design, clarify the purpose of your infographics and identify your target audience. Are you creating educational infographics, marketing materials, or data-driven visuals? Understanding your audience's preferences and needs will guide the design choices you make.
Step 2: Choose a Design Tool
Select a design tool that suits your skills and needs. Popular options include Adobe Illustrator, Canva, Piktochart, and Visme. These tools offer pre-designed templates and a wide array of design elements that can help expedite the creation process.
Step 3: Determine the Layout and Structure
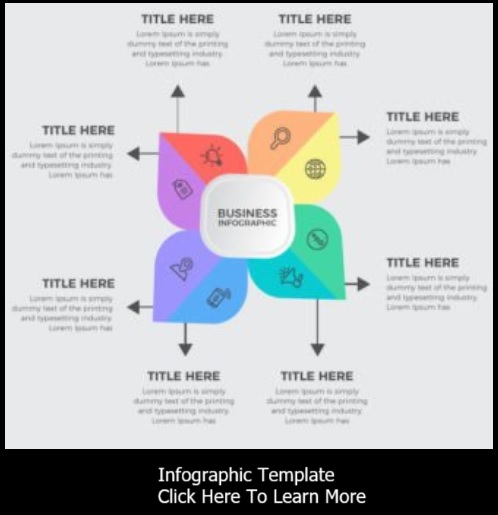
Decide on the layout of your template. Consider the arrangement of headers, subheadings, body text, images, icons, and data visualization components. A clear and organized structure ensures that your infographics are easy to follow.
Step 4: Create a Consistent Color Palette
Choose a color palette that aligns with your brand or the subject matter of your infographics. Consistency in colors fosters recognition and reinforces your visual identity. Stick to a limited number of colors to avoid overwhelming the viewer.
Step 5: Develop Typography Guidelines
Select fonts that are easy to read and align with the tone of your content. Choose a primary font for headings and a complementary font for body text. Establish font sizes and styles for various elements, maintaining a hierarchy to guide the reader's attention.
Step 6: Incorporate Visual Elements
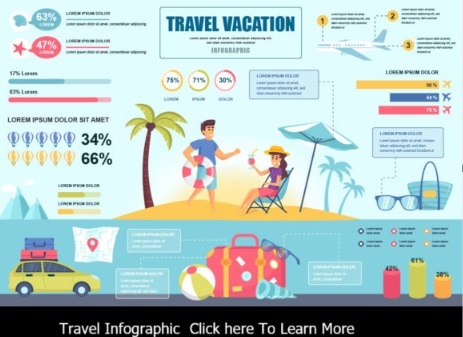
Integrate visual elements such as icons, illustrations, and images that complement your content. Ensure that these elements are cohesive and align with your branding. Remember, visuals should enhance the message, not overshadow it.
Step 7: Design Data Visualization Templates
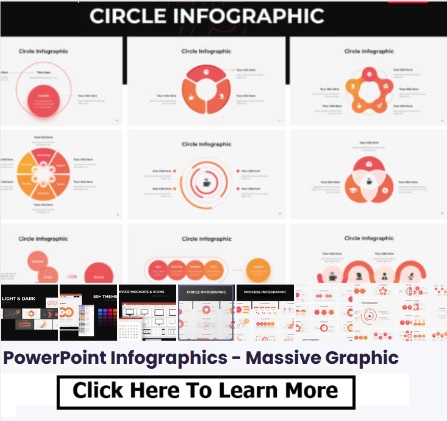
If your infographics often include charts, graphs, or other data visualizations, design templates for these elements. Consistency in the design of these components ensures that readers can easily interpret the information presented.
Step 8: Include Call-to-Action (CTA) Areas
Depending on your goals, incorporate designated spaces for call-to-action buttons or text. If your infographics are part of a marketing strategy, well-placed CTAs can drive reader engagement and conversion.
Step 9: Review and Refine
After designing your template, review it thoroughly. Check for alignment, consistency, and overall visual appeal. Test the template with sample content to ensure that it accommodates different types of information effectively.
Step 10: Save as a Master Template
Once you're satisfied with the design, save your infographic template as a master file. This file should serve as the basis for all future infographics. Make sure to keep a backup copy and regularly update it as your branding or design needs evolve.
Step 11: Customize for Specific Content
When creating new infographics, open the master template and customize it with the specific content, data, and visuals. Adjust colors, text, and images to match the topic while maintaining the overall design structure.
Creating an infographic template streamlines your design process, maintains consistency, and allows you to focus on the content rather than starting from scratch each time. Remember that templates can be refined over time based on feedback and changing design trends. With a well-designed template in hand, you're well on your way to creating visually impactful and consistent infographics that effectively convey your message to your audience.
- A Step-by-Step Guide to Creating an Infographic Template
- Crafting Compelling Infographics with Adobe Illustrator: A Step-by-Step Guide
- Crafting Infographics with Adobe Spark Post
- Creating Infographics Using Google Docs: A Creative Approach
- Creating Infographics with Photoshop
- Creating Informative Infographics with Google Charts
- Creating Stunning Infographics with PowerPoint: A Step-by-Step Tutorial
- Designing Infographics with Canva
- Empowering Creativity: Exploring Free Online Infographic Makers
- Transforming an Article into an Engaging Infographic: A Step-by-Step Guide